WinZip is a utility program that allows you to compress (reduce the file size) and collect various files so that you can send them as a single attachment in your email. This is especially useful if you want to send a collection of pictures and/or documents.
These tutorials will show you how to 1create WinZip files, 2make a Self-Extracting Zip file, and 3extract the Zip file sent via email and save the collection of files to your own hard drive. The step-by-step process will show you how to send several files in one “Zipped” file. Bear in mind that WinZip can compress together any kind of files. This means that the files you are going to zip do not need to be of the same file type or extension name.
Note: If you do not have WinZip installed in your computer, you can download an evaluation copy from their web page: www.winzip.com.
A. CREATING A WINZIP FILE
-
Create a folder in your hard drive and save/place your collection of files to that folder.
1.1. You can easily create a folder in your desktop by clicking the right-mouse button on an empty space. A shortcut menu will appear. Point to NEW 4 and then click Folder. A new folder will appear and its temporary name is highlighted. You may type a new folder name and press ENTER key for the new name to take effect. At this point, you should be able to see the new folder in your desktop.
1.2. To put the files (you want to zip) in the new folder, double-click My Computer and locate the
Start WinZip by double-clicking the desktop icon or you can click the Start button, point to Programs 4 , and then select WinZip. If you are using a WinZip evaluation copy, you will see the screen below. Simply click YES.

Figure 02. WinZip Setup Window – License Agreement
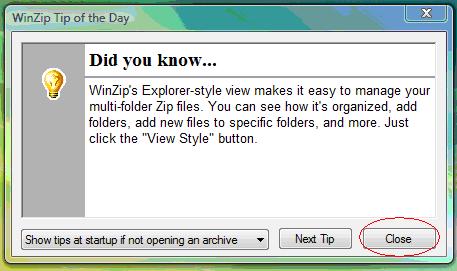
3. If the Tips screen appears (see below), click on Close.
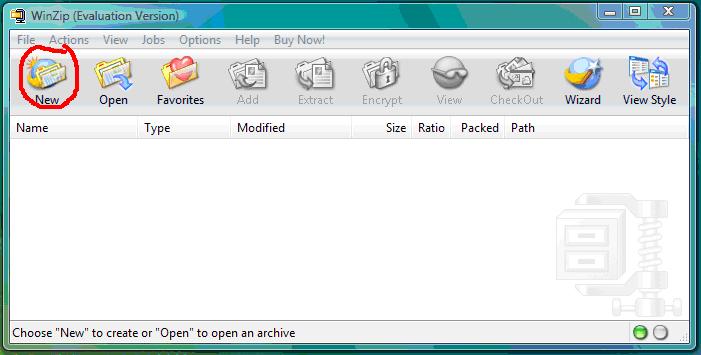
4. The Main WinZip screen will appear. Click the New button to create a zip file.
5. You will now be asked where you want to save your WinZip file and what you want to call it. The New Archive dialog box will appear that looks like the screen below. It is easier to save it in the Desktop so just follow the steps provided in the following diagram.
6. When you have successfully chosen where to put the file and the appropriate file name for your Zip file, you will see the Add Files dialog box. Locate the folder where you stored all the necessary files. Select the files by holding down the Control (CTRL) Key as you click on each file that you want compressed together in a Zip file. Finally click on the Add button in the dialog box.
7. The Zipped file will be created in the folder/directory where you selected it to.
8. If you chose to put it in the Desktop, there should be a zipped file on your Desktop. You can see an icon that looks like a file cabinet held in a vise:
TIP: If the archive size you wish to send via email is quite big, WinZip makes it easy to split an existing ZIP file into multiple pieces. Just open it in WinZip (and make sure you're in the Classic mode, not the Wizard interface), open the Actions menu, click Split, and then choose a filename and the size for each component. You can also “span” an archive over multiple portable drives or even floppy disks -- just keep popping in new disks as you are prompted.
